


Tessa’s Recipe Rundown
Taste: It tastes JUST like a strawberry cheesecake, but maybe even more flavorful since we roast the strawberries in this recipe.
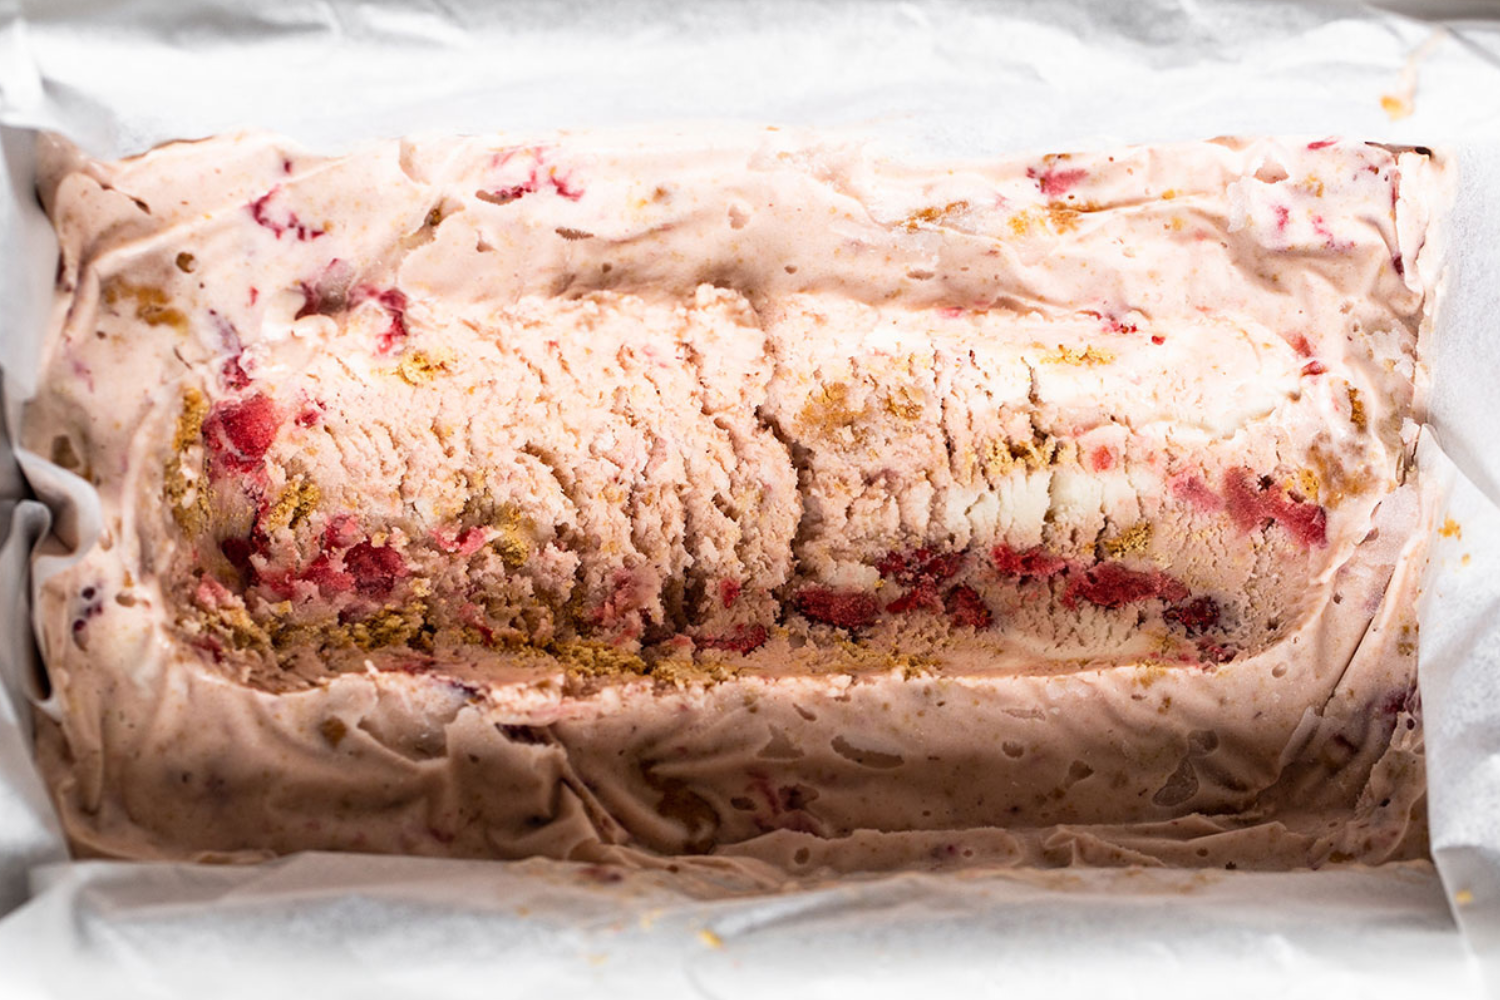
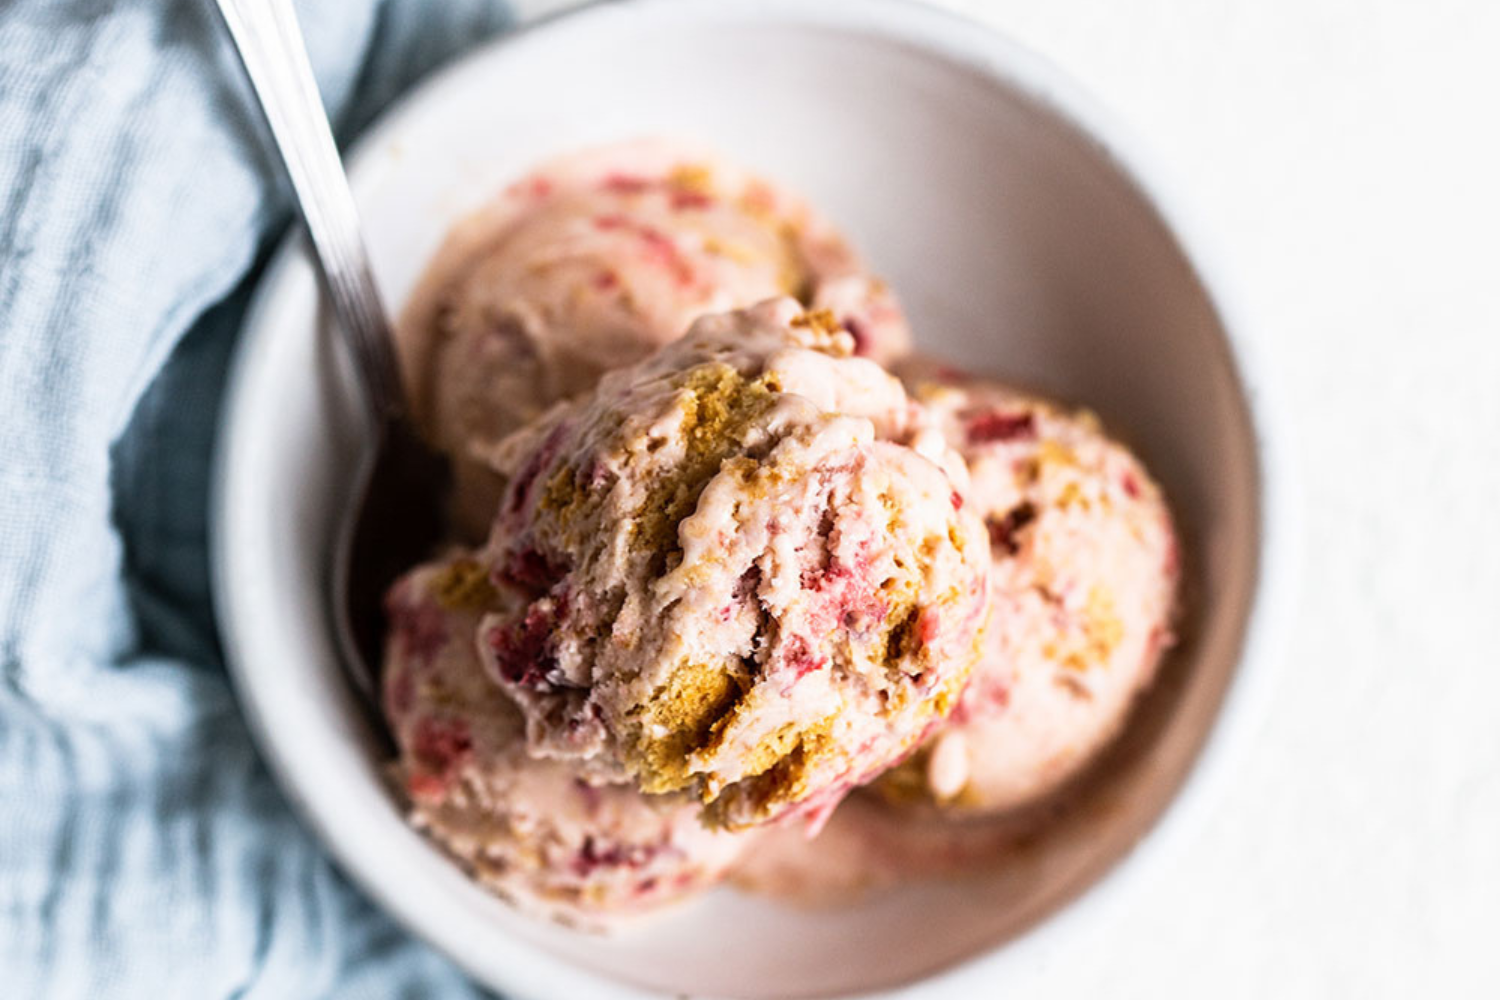
Texture: Rich and creamy with chunks of fruity strawberries and crunchy graham crackers.
Ease: Roasting the strawberries is an extra step, but it’s so worth it and will make your house smell amazing!
Pros: One of my all-time favorite fresh summer ice creams.
Cons: None!
Would I make this again? Absolutely.
This post may contain affiliate links. Read our disclosure policy.
This Strawberry Cheesecake Ice Cream is about to become your new summertime favorite!
Homemade ice cream is one of my go-to summer treats.
When temperatures soar to over 115°F here in Phoenix, ice cream is all I can think about.
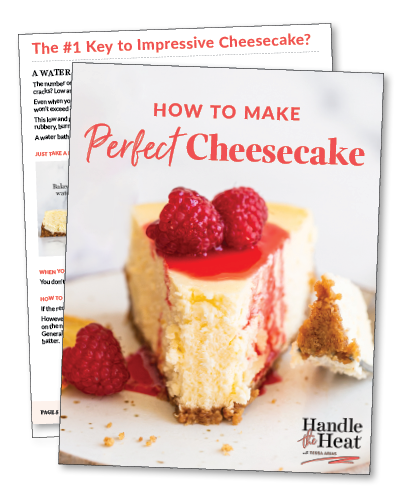
Free Cheesecake Guide!
Discover the #1 secret for flawlessly smooth, luscious cheesecake in this FREE guide. Bake compliment-winning cheesecakes all the time!
I adore making my own ice cream, too, because I’m in full control of the flavor – and the texture of homemade ice cream is just SO much better.
There’s something so satisfying about making your own ice cream (I guess that’s why I also have a whole cookbook devoted to ice cream and ice cream sandwiches!)
I also love this recipe particularly right now because it doesn’t require flour or eggs. Delicious AND easy is always a win, right?
With temperatures steadily rising, this is the perfect way to brighten your day and keep cool.
Below are a ton of recipe tips. This recipe is surprisingly easy, but I wanted to give you all my best advice and answer any possible questions so you can enter the kitchen with total confidence.
Roasted Strawberry Cheesecake Ice Cream Recipe Tips
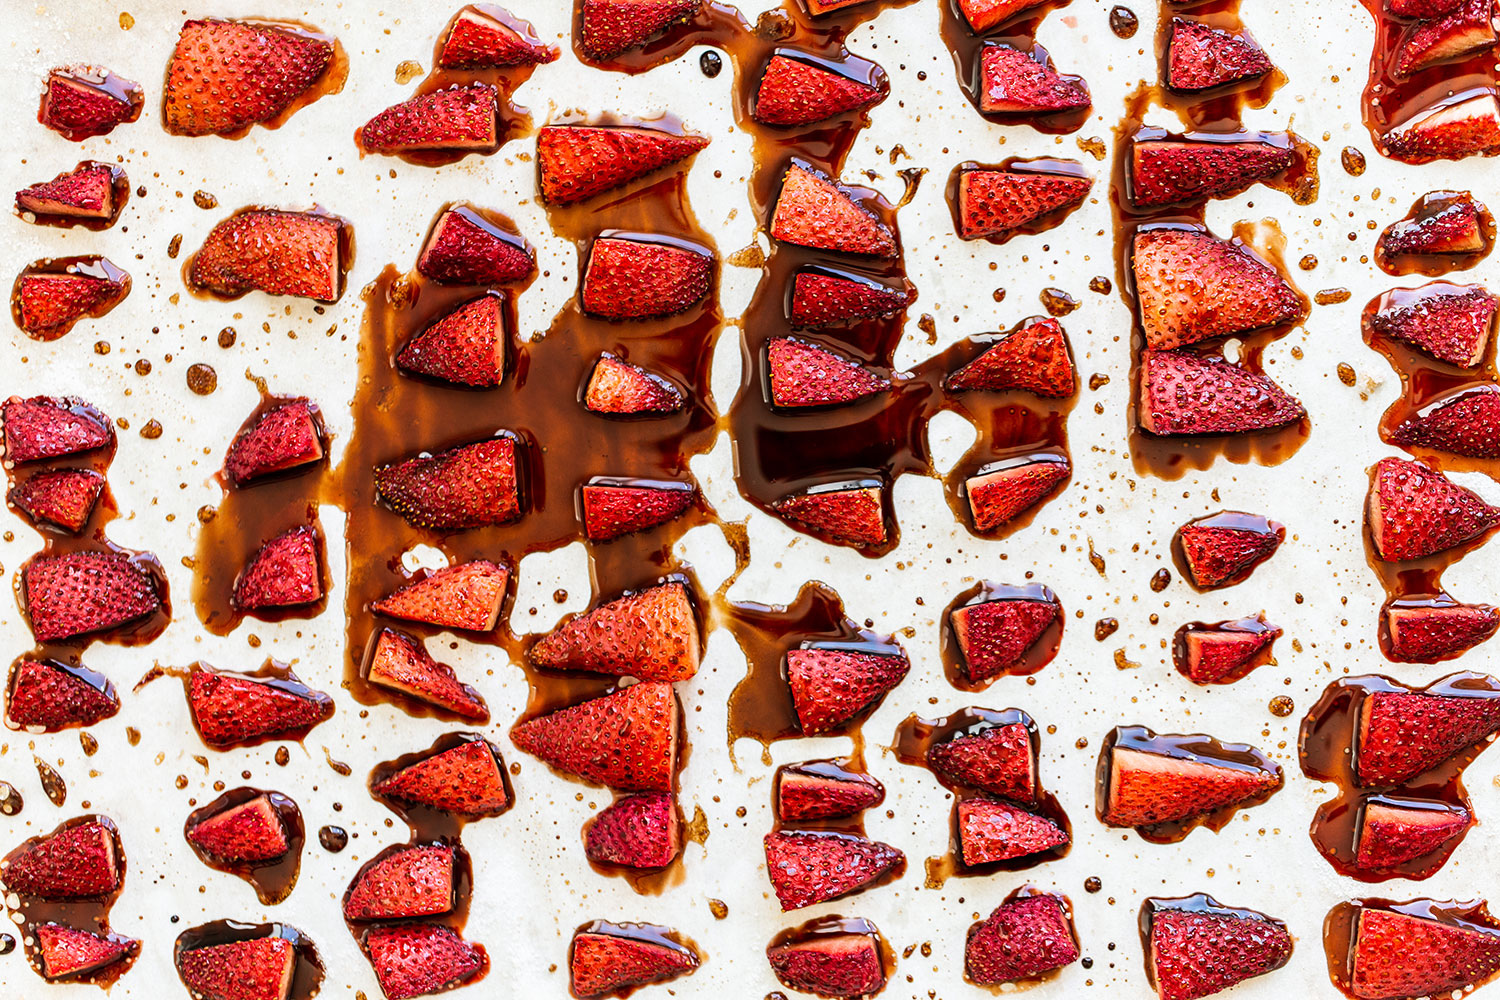
Why You Should Roast Strawberries
One of the stars of this recipe! It may sound strange to roast strawberries. Especially for ice cream, but just trust me here.
- Toss the strawberries with sugar and a tablespoon of balsamic vinegar and roast in a low 300°F oven for about 30 minutes in order to slightly caramelize the strawberries and bring out all their delightful flavor.
- This also softens the strawberries so we get little bites of strawberry chunks, which I just love!
- The trick is to do this ahead of time and refrigerate the strawberries until they’re chilled. That way, they won’t melt the ice cream when we add them in at the end.
How to Make Soft & Creamy Homemade Ice Cream
- For luscious ice cream you need to use dairy whole milk and cream. Anything else will be watery, thin, and just not worth the effort.
- The recipe contains a small amount of corn syrup. Why? It helps to prevent the ice cream from crystalizing and getting too hard. Feel free to omit it if you want.
- Another good trick to prevent fruit ice creams from hardening (because of all the water content) is to add a tablespoon of vodka just before you finish churning.
- Lastly, if you prefer a smoother ice cream texture, feel free to use a blender to blend all of the ingredients together except the graham crackers before churning. Then add the graham crackers at the end as directed in the recipe.
How to Churn Ice Cream
Storing & Serving Roasted Strawberry Cheesecake Ice Cream
- You can make both the roasted strawberries and ice cream mixture up to a day ahead of time. Just store in separate airtight containers in the fridge.
- Be sure to store the ice cream in a very well-sealed airtight container with plastic wrap pressed against the surface. This will help prevent the ice cream from crystallizing. Store it for up to 2 weeks.
- The longer the ice cream is stored, the more flavorful it will become! However, the longer it’s stored the harder it will become as well.
- Just leave the ice cream out at room temperature for about 10 minutes before scooping to allow it to soften.
- Even better, refrigerate it for 30 minutes before scooping, so it becomes evenly softened.

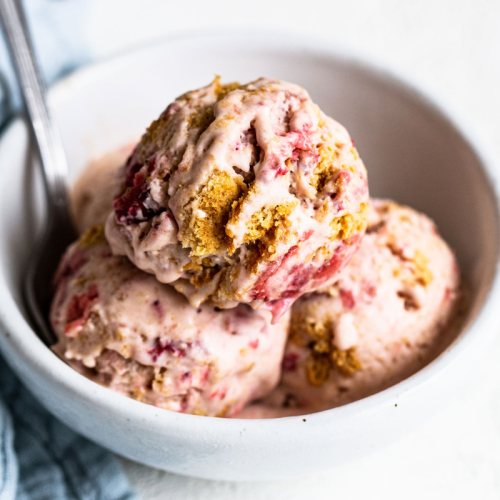
Strawberry Cheesecake Ice Cream
Strawberry Cheesecake Ice Cream is bursting with so much fruity, tangy flavor. It tastes like you turned the best strawberry cheesecake ever into a scoop of ice cream. HEAVEN!
Instructions
- Preheat the oven to 300°F. Line a large rimmed baking sheet with parchment paper or a silicone baking mat.
Toss the strawberries with 1/4 cup sugar and the balsamic vinegar. Spread strawberries into one even layer on the prepared baking sheet and roast for about 30 minutes, or until the strawberries have darkened in color, are soft, and their juices have released. Transfer the strawberries and juices to a medium bowl and mash until only small pieces of fruit remain. Cover and refrigerate the strawberries until chilled, about 1 hour.
Meanwhile, in the bowl of a blender or food processor, puree the remaining ice cream ingredients, except the graham crackers, until smooth. Transfer to a medium bowl and press plastic wrap against the surface. Chill in the refrigerator for at least 30 minutes, or up to 1 day.
- Pour the mixture into an ice cream maker. Freeze according to the manufacturer’s directions. During the 5 last minutes of freezing, gradually add the roasted strawberries and graham crackers.
Transfer the ice cream to an airtight container, press plastic wrap against the ice cream, and freeze until firm and flavor is ripened, at least 2 hours.
This post was originally published in 2016 and updated with new photos, tips, and recipe improvements. Photos by Ashley McLaughlin.
Source link